Deck Truss Bridge - November '03
Installing the first truss
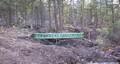
I carried the stringers out to the bridge location; they were only about 70 lb each.
On the left you can see the header that I created out of used RR ties - I found a local supply for $1 apiece!
I'll build the other header once I have the entire bridge built - I don't want to have to tear out a misplaced header!
I found that the roots of tree at the right-hand end of the stringers were right where my header will need to be, so I cut it down and tore out the stump with an excavator.
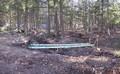
Here's another view of the stringers and the header:

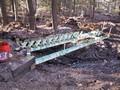
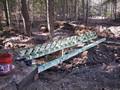
The rest of the parts for the truss fit in one wheelbarrow:

Beginning the reassembly of the diagonals and angle blocks:
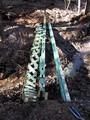
Reassembly complete:
When I tried to add the top stringer, the truss tipped over!
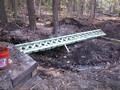
2nd time's a charm: all wooden parts are in place.
Note the small leg under the center of the truss: I added this to prevent sagging during construction.
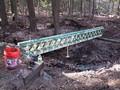
I added all the tension rods and plates:
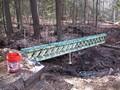
And knocked the whole thing over
Luckily I had several rods secured of this thing would have exploded into a million pieces!
However, it does give a good view of the black tension plates on the bottom of the structure.
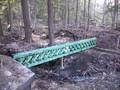
Finished!
All rods have been tightened and the whole thing is slathered in preservative. The wood creaked and
groaned like an old wooden ship as I tightened the rods, the ends of which still need to be trimmed.
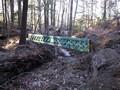
Here's how it looks from the other side:
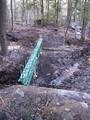
And from on top of the abutment:
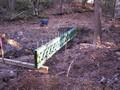
And from the other end:
Finally, a panoramic shot of the whole thing: